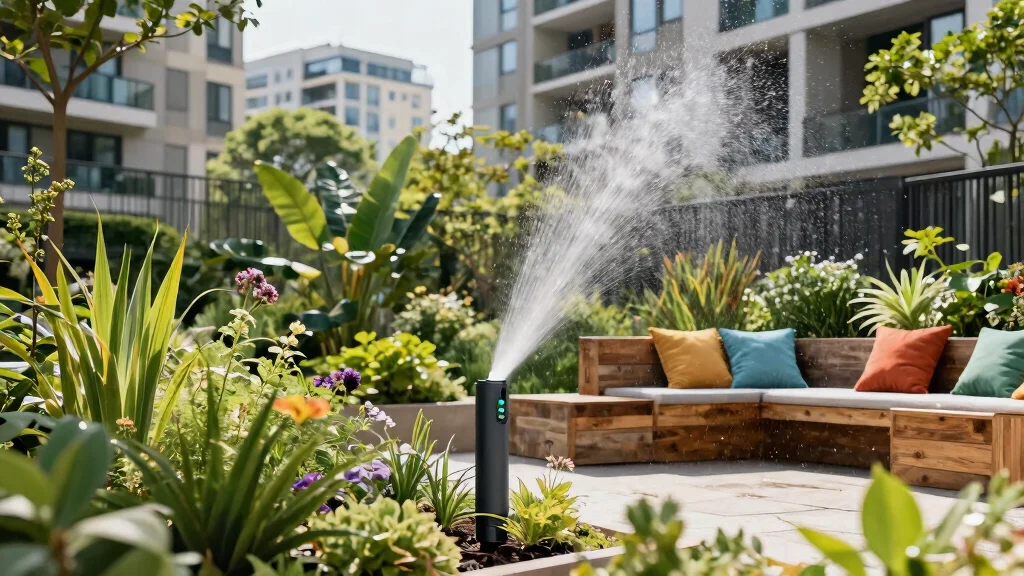
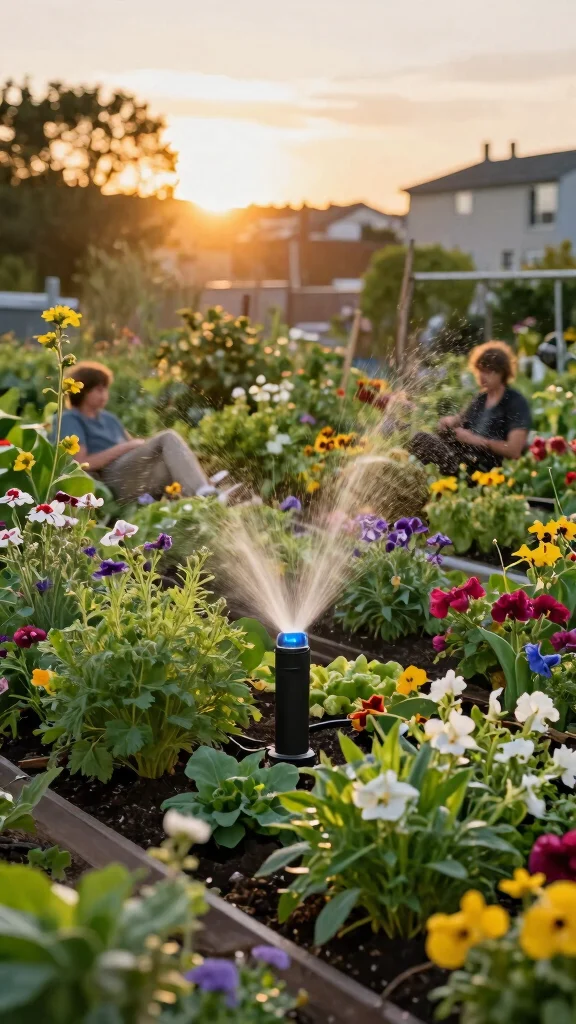
Installing a sprinkler system can feel overwhelming, especially if you’re new to gardening or urban landscaping. I created this guide because I know how essential it is to keep your garden thriving without spending hours watering by hand. With the right information, you can set up a smart irrigation system that takes care of your plants while saving you time and effort.
If you’re someone who loves gardening but struggles with keeping your plants well-watered, this post is perfect for you. Whether you’re a busy urbanite or just someone who wants a beautiful garden without the hassle, these steps will help you create an efficient and effective watering system. You’ll discover how to choose the right components, set everything up, and enjoy the fruits of your labor—all while conserving water and energy.
By the end of this guide, you’ll have a clear roadmap for your sprinkler system installation. You’ll learn about planning your garden layout, selecting the right type of sprinkler, and even programming a smart controller. These steps are designed to be straightforward and actionable, giving you the confidence to tackle your sprinkler project head-on.
Key Takeaways
– Garden Layout Planning: Start by mapping out your garden’s layout to identify where you need water coverage and where your plants are located. This will guide your entire installation process.
– Choosing Your Sprinkler Type: Decide on the type of sprinkler system that fits your garden best, whether it’s a drip system for flowers or a spray system for wider areas.
– Essential Tools and Supplies: Gather all necessary tools and supplies before you begin, including pipes, connectors, and sprinkler heads, ensuring you have everything at hand for a smoother installation.
– System Testing: After installation, always test your system to check for leaks and ensure even water distribution. This step is vital for maintaining a healthy garden.
– Smart Controller Programming: Learn how to program your smart controller to automate your watering schedule, making maintenance easy and efficient while reducing water waste.
1. Plan Your Garden Layout

Are you ready to create a thriving garden? Thoughtfully planning your garden layout is the first essential step. By considering your plant types, their water needs, and the varying sunlight across your garden, you can set up a system that works efficiently and effectively. A well-structured layout not only saves you water but also enhances plant health and growth potential.
Begin by measuring your garden space and sketching a rough design. Position your plants based on their height and sunlight requirements, and group those with similar needs. This thoughtful arrangement will optimize water usage and promote a lush, vibrant garden.
Here’s how to get started:
– Assess your plant types and their specific water requirements.
– Organize plants based on sunlight exposure for optimal growth.
– Plan for easy access to garden areas for maintenance and harvesting!
Investing time in this planning phase will lead to a flourishing garden, reducing water waste and ensuring your plants thrive.
Difficulty Rating & Requirements
Overall Difficulty Rating: Medium
Installing a smart sprinkler system can be moderately challenging, especially for those without prior experience in gardening or DIY projects. You should feel comfortable using basic tools and following instructions. This project is suitable for enthusiastic gardeners who enjoy hands-on tasks and are willing to learn along the way.
Time Estimate:
⏱ Estimated time: 6-8 hours
Here’s a breakdown of the time for major phases:
1. Planning your garden layout: 1 hour
2. Gathering tools and supplies: 1 hour
3. Installing mainline and connectors: 2 hours
4. Installing sprinkler heads: 2 hours
5. Testing and programming: 1-2 hours
Skill Requirements:
– Required skills: Basic plumbing knowledge, ability to read plans, and comfort with tools like shovels and wrenches
– Beginner-friendly: Yes. While some experience helps, most skills required can be learned during the installation process.
– Skills that can be learned: Planning the layout, installing sprinkler heads, and programming the smart controller.
– Skills requiring experience: Complex plumbing connections or troubleshooting electrical issues may need professional help.
Tools & Materials Needed:
🧰 Essential items checklist:
– Garden hose (optional, if not using mainline connections)
– Sprinkler heads (required)
– PVC pipes and connectors (required)
– Shovel (required)
– Teflon tape (optional, for leak prevention)
– Smart irrigation controller (required)
– Pressure gauge (optional, for monitoring pressure)
– Measuring tape (required)
Step-by-Step Overview:
1. Planning Your Garden Layout (1 hour): Measure your garden space and determine the areas needing water. Draw a simple layout to visualize where each sprinkler will go.
2. Gathering Tools and Supplies (1 hour): Collect all the necessary tools and materials. This ensures you don’t waste time running to the store mid-project.
3. Installing Mainline and Connectors (2 hours): Dig trenches for the PVC pipes. Lay down your mainline and connect them to the water source. Make sure everything is secure and leveled.
4. Installing Sprinkler Heads (2 hours): Position and secure each sprinkler head according to your layout. Test the connections to ensure they are watertight.
5. Testing and Programming (1-2 hours): Turn on the water supply and check for leaks. Then, program your smart irrigation controller to set watering schedules based on your garden’s needs.
Professional vs DIY:
Hiring a professional for sprinkler system installation can cost anywhere from $1,500 to $3,000, depending on the complexity and size of the garden. DIY installation can be done for around $300 to $600, depending on the materials and smart controller you choose. If you’re handy and willing to invest time, DIY is a cost-effective route. However, if you are unsure about plumbing or electrical work, seeking professional help is wise to avoid costly mistakes.
2. Choose Your Sprinkler System Type
Choosing the right sprinkler system is key to keeping your garden hydrated. The ideal type depends on your garden’s layout and the watering needs of your plants. Understanding your options will help you make an informed decision that supports healthy growth and minimizes water waste.
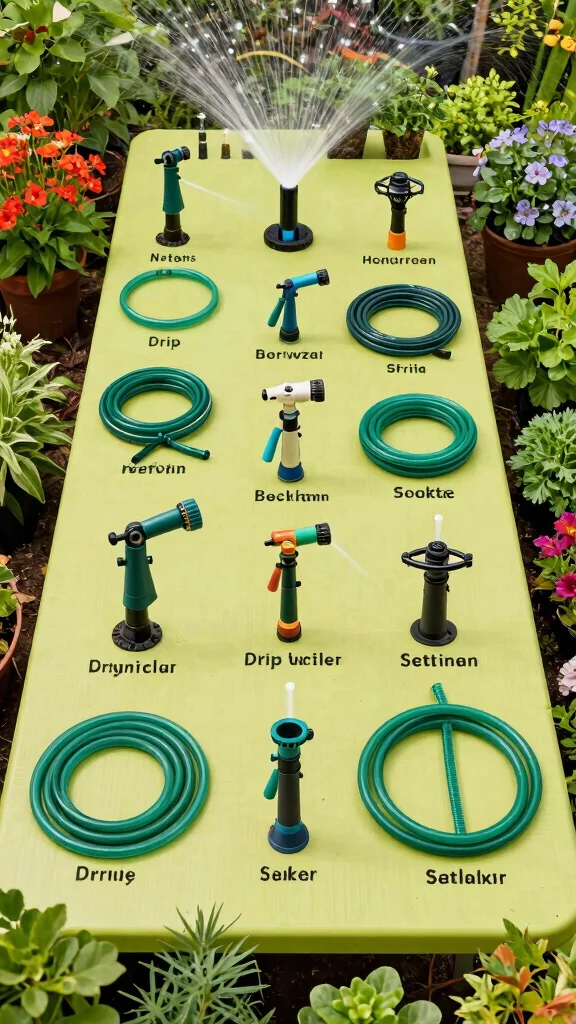
Consider these popular sprinkler system types:
– Drip Irrigation: Perfect for conserving water in flower beds and vegetable gardens.
– Spray Systems: Great for larger areas, covering wide spaces but may lose water through evaporation.
– Soaker Hoses: Excellent for small gardens, allowing for consistent watering in serpentine patterns.
Evaluate the pros and cons of each system:
– Drip Irrigation: Highly efficient, yet requires more installation effort.
– Spray Systems: Easy to set up, but less efficient in water usage.
– Soaker Hoses: Affordable and simple, but can clog without proper maintenance.
Choosing wisely will ensure your garden gets the water it needs for optimal growth.
3. Gather the Necessary Tools and Supplies
Once you’ve made your system choice, it’s time to collect all the tools and supplies needed for your sprinkler installation. Having a checklist will keep you organized and help the process go smoothly.
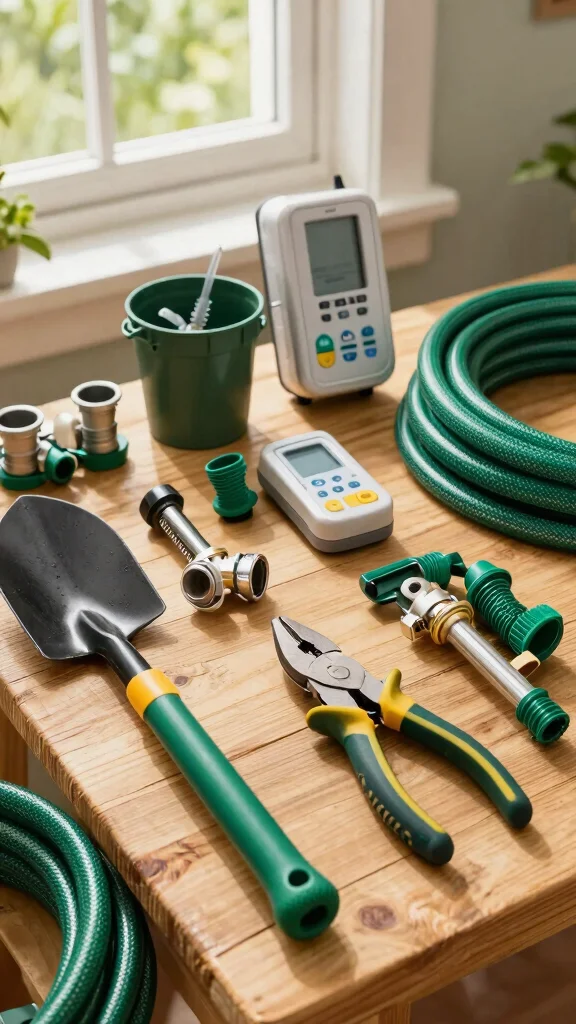
Typically, you will need:
– Tools: Shovel, garden trowel, pliers, and pipe cutter.
– Supplies: Sprinkler heads, hoses or tubing, connectors, stakes, and a timer or smart controller.
Don’t overlook the small essentials:
– Teflon Tape: For sealing threaded connections effectively.
– Filtration System: To prevent blockages in drip systems.
– Batteries: Ensure all smart components are ready to go!
With everything prepared, you can focus on your installation without interruptions, making the entire process enjoyable.
4. Prepare the Garden

Preparing your garden area is a vital step before installing your sprinkler system. Start by clearing away any debris, weeds, or dead plants from the area to ensure your system functions optimally.
Next, mark the positions for your sprinkler heads according to your design plan. Use stakes or flags to visualize the layout and avoid mistakes during installation.
Key actions include:
– Clearing the Area: Remove rocks, roots, and other obstacles.
– Marking Layouts: Use stakes to outline where your system will be installed.
– Water Source Check: Ensure your water source can meet your system’s demands!
A well-prepared garden is essential for a smooth installation, reducing potential complications later on.
Fun fact: Spending 15 minutes clearing debris and marking sprinkler head layouts can cut sprinkler system installation headaches by up to 30%. A tidy start means even coverage, fewer misfires, and a smoother garden-wide soak from day one.
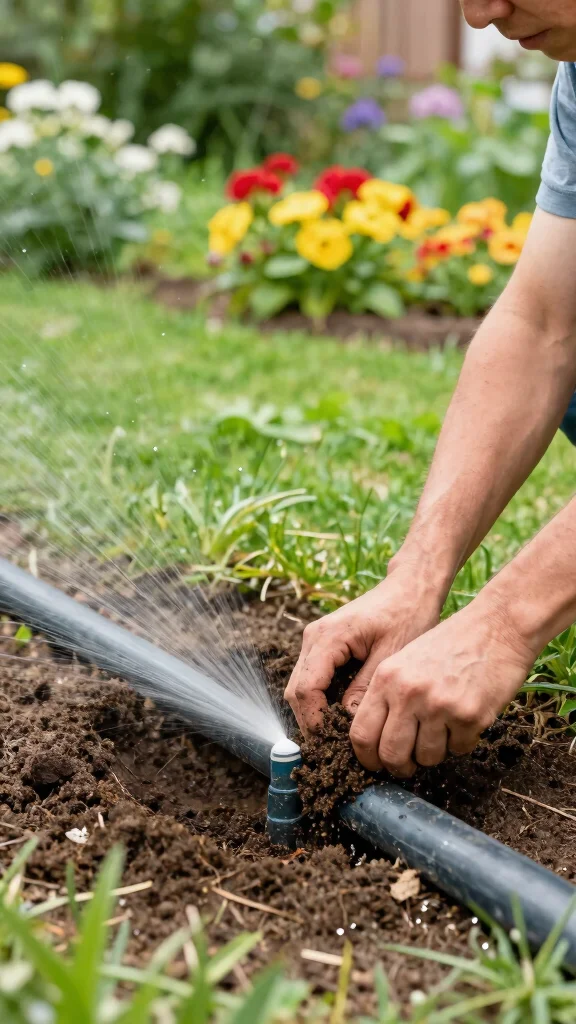
5. Install the Mainline and Connectors
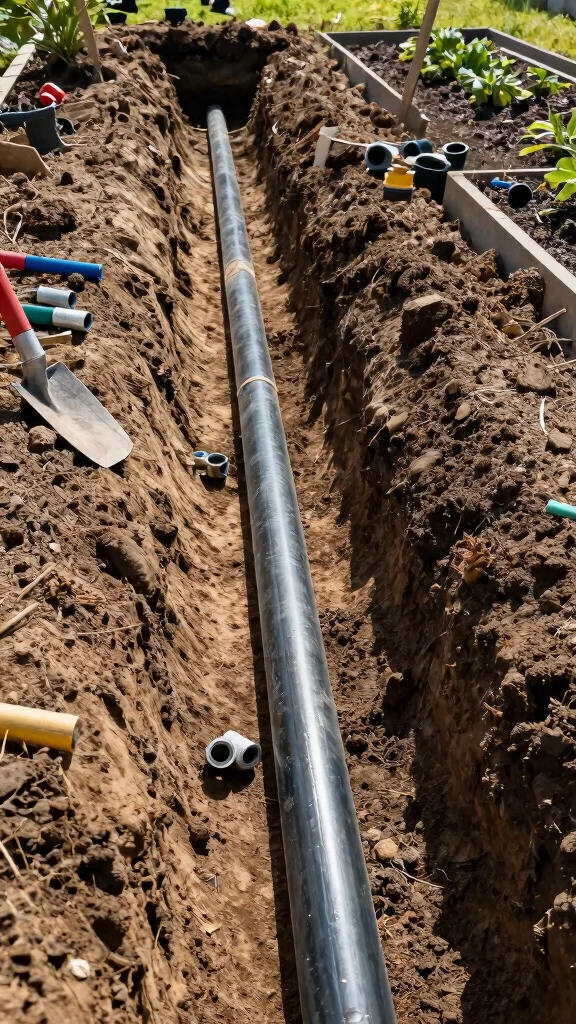
Now that your garden is prepped, it’s time to install the mainline and connectors of your sprinkler system. This step is crucial as it transports water from your source to your plants.
Begin by trenching a narrow line for your mainline, typically 6-12 inches deep depending on your local climate. Lay the mainline pipe in the trench and securely connect it to your water source, using Teflon tape on threaded connections to prevent leaks.
Remember to:
– Test Your Connections: Turn on the water before burying pipes to check for leaks.
– Secure Pipes: Use stakes to hold pipes in place during installation.
– Plan for Expansion: Position connectors for possible future additions.
This step establishes a reliable water flow, setting you up for a successful installation.
Fun fact: Up to 80% of sprinkler system installation leaks come from loose mainline connections. Take a minute to seal threaded joints with Teflon tape and test every connection before trenching backfill. A tight mainline saves water and headaches later.
6. Install Sprinkler Heads
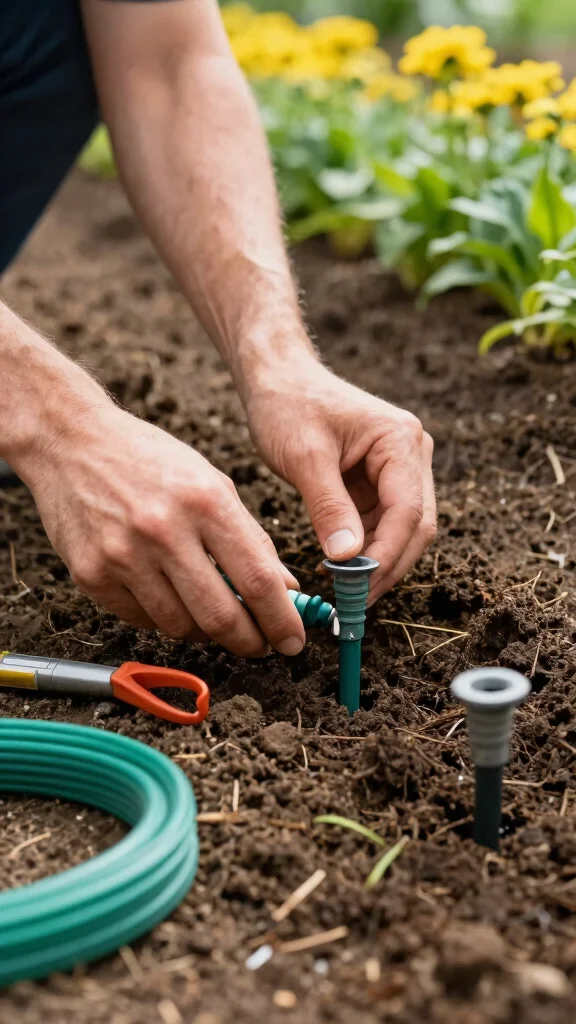
Installing your sprinkler heads is an exciting step in the process! Depending on your system type, the installation might vary slightly, but the basics remain the same.
Start by digging small holes for each sprinkler head at the marked spots, ensuring they sit level with the soil surface for effective coverage. Connect the riser pipes to the mainline and secure the sprinkler heads according to the manufacturer’s instructions.
Here are some essential tips:
– Proper Positioning: Aim heads toward areas needing water, avoiding any obstructions.
– Even Distribution: Run the system before burying anything to check coverage.
– Adjustability: Opt for adjustable heads in mixed plant height areas for uniform watering.
Correctly installing the heads is vital for effective irrigation and ensures your plants get the right amount of water.
7. Test Your System
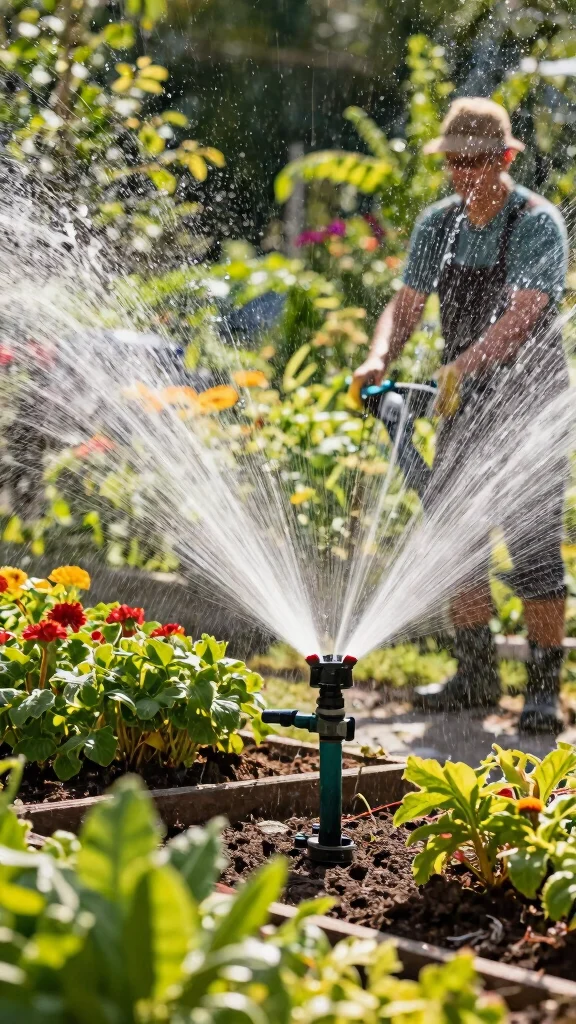
Before sealing everything, testing your system is critical. This step ensures all components work properly and there are no leaks.
Turn on the water supply and observe each sprinkler head for performance. Look for:
– Coverage: Ensure water reaches all intended areas without dry spots.
– Pressure: Confirm water pressure is sufficient for all heads.
– Leaking Connections: Watch for any leaks around joints.
Make adjustments as needed, whether it’s repositioning heads or tweaking water pressure. Testing guarantees your system is fully operational and ready for use!
This phase is essential for long-term success, providing a reliable water source for your plants.
8. Burying the Pipes
After confirming everything is functional, it’s time to bury the pipes. This step protects your sprinkler system and keeps your garden looking tidy.
When burying your pipes:
– Layering: Start by lightly covering the tubes with soil to avoid crushing them.
– Compaction: Gently pack the soil to prevent settling without damaging the pipes.
– Marking Locations: If you plan to plant above the pipes, marking their locations helps in future garden planning.
Completing this step not only protects your system but also enhances the beauty of your garden, allowing it to flourish without visible pipes.
9. Program Your Smart Controller
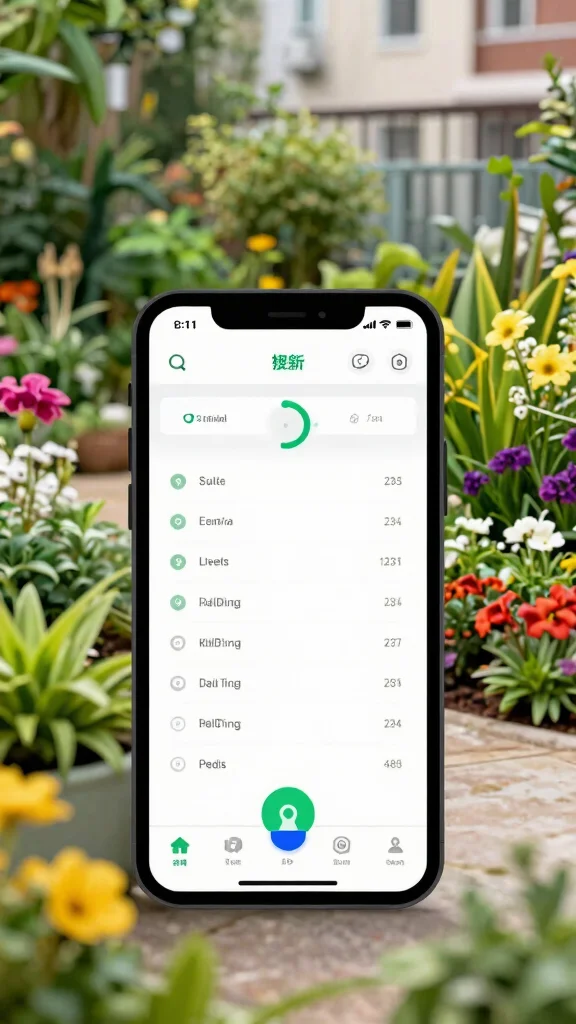
With your system in place, it’s time to set up your smart controller. This device automates your watering schedule, tailoring it to your garden’s specific needs.
Start by downloading the app for your smart controller and connecting it to your Wi-Fi. This offers convenience and control over your watering.
Consider these factors while programming:
– Watering Schedules: Set times for early morning or late evening to reduce evaporation.
– Rain Sensors: Utilize rain sensors to prevent overwatering.
– Drought Conditions: Make seasonal adjustments to save water during drier months.
Take advantage of the analytics features to monitor water usage, helping you garden smarter while keeping your plants thriving.
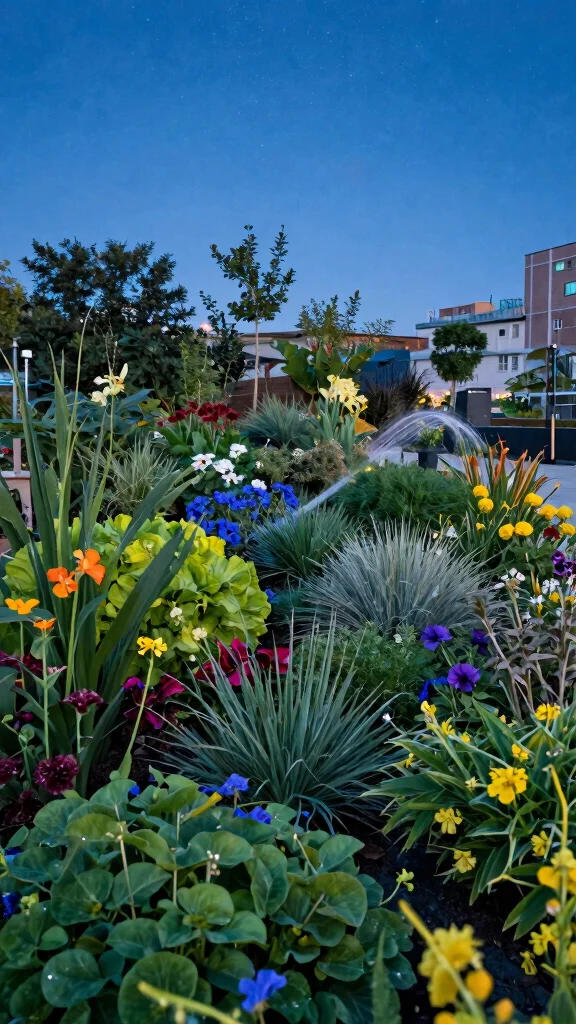
10. Enjoy Your Beautiful Garden!
Now that your sprinkler system is operational, it’s time to relax and enjoy your beautiful garden! Appreciate your hard work, knowing your plants are well-cared for without the hassle of constant manual watering.
To maintain your system, remember to:
– Regular Checks: Inspect the system periodically for leaks and clogs.
– Seasonal Adjustments: Modify your watering schedule based on weather changes and plant growth.
– Plant Care: Combine mulching and soil care with your watering routine for optimal results.
Creating a garden in the city can be fulfilling with the right tools. A smart sprinkler system not only saves you time but also nurtures your plants, promoting sustainable gardening practices.
❝ Did you know? A well-tuned sprinkler system installation can reduce outdoor water use by up to 30% compared to hand watering. Enjoy your garden while your plants stay hydrated, with regular checks and seasonal adjustments keeping it efficient. ❞
Conclusion
Installing a smart sprinkler system isn’t just about convenience; it’s about creating a sustainable, thriving garden in an urban environment. From planning to programming, each step is vital in ensuring your system provides the best care for your plants. With a few simple steps, you can enjoy a beautiful garden that flourishes with minimal effort.
Dive into the world of smart irrigation technology and transform your gardening experience!
Note: We aim to provide accurate product links, but some may occasionally expire or become unavailable. If this happens, please search directly on Amazon for the product or a suitable alternative.
This post contains Amazon affiliate links, meaning we may earn a small commission if you purchase through our links, at no extra cost to you.
Frequently Asked Questions
What is the first step in sprinkler system installation for an urban garden?
Begin with a practical plan for sprinkler system installation in your urban garden. Create a simple site plan that marks planting beds, containers, hardscapes, and your water source.
Then divide areas into watering zones based on sun exposure and plant needs, and decide between DIY sprinkler installation or hiring a professional. Check local codes and backflow requirements before you start to prevent violations or damage.
Getting this groundwork right up front saves water, prevents overwatering, and ensures even coverage across your landscape.
How do I decide between DIY sprinkler installation and hiring a pro for an urban garden?
Deciding between DIY sprinkler installation and a professional comes down to complexity, budget, and your timeline. For a simple urban setup, DIY is feasible with a basic kit and clear plan. If you have multiple zones, irregular beds, or smart controllers, a pro can optimize pipe routing, head spacing, and ensure proper backflow prevention.
Get written quotes, verify warranties, and request a water-turn-on test. After installation, test each zone to confirm even coverage and adjust as needed. This approach helps you achieve efficient garden watering from day one.
What are the best practices for water efficiency in an irrigation system setup?
To maximize water efficiency in an irrigation system setup, start with solid zoning so each area gets the right amount of water. Choose appropriate heads or emitters, ensure clean, properly spaced coverage, and avoid overspray onto sidewalks or streets. Use weather-based or ET-guided scheduling, plus a rain sensor or smart controller to pause irrigation during rain. Combine with mulch and drought-tolerant plant selections for truly efficient garden watering.
How can smart irrigation technology be integrated into a small urban garden?
Integrating smart irrigation tech in a small urban garden is easier than you think. Install a smart controller and connect it to separate zones for each bed or container group. Add soil moisture or rain sensors, and use a weather-aware schedule that adapts to seasonal changes. This creates practical garden watering solutions that save water and time, while keeping plants healthy. Pair with drip lines or low-flow spray heads for precise delivery in tight spaces.
What common mistakes should I avoid during sprinkler system installation in a small garden?
Common missteps include not mapping zones properly, placing heads incorrectly (creating dry spots or overspray), skipping backflow prevention, using undersized pipes, and skipping zone tests. Don’t forget winterization and regular maintenance. To avoid these, plan zones carefully, verify head spacing with a test spray, install a backflow device, and run a full system check after installation. These tips help ensure sprinkler system installation remains reliable and efficient garden watering all season.